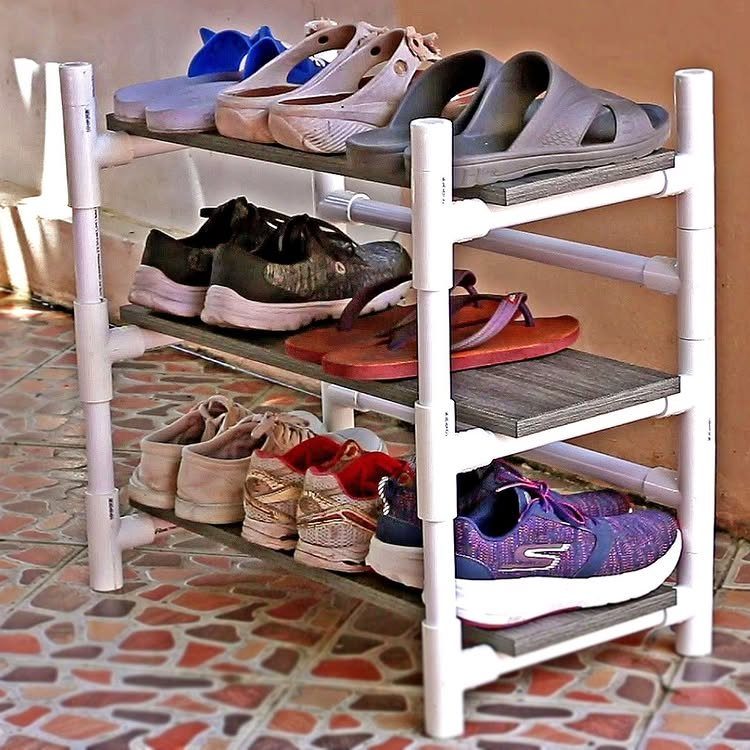
Shoe storage in a camper runs from a few dollars of PVC pipe to a small lumber project for under-bed shelving, and the right choice depends on whether your rig has wall space, floor space, or neither.
A rack that projects too far into a walkway costs more in daily friction than it saves in dollars, which is why I measure the narrowest passage first and work backward from there.
1. PVC Pipe Shoe Rack
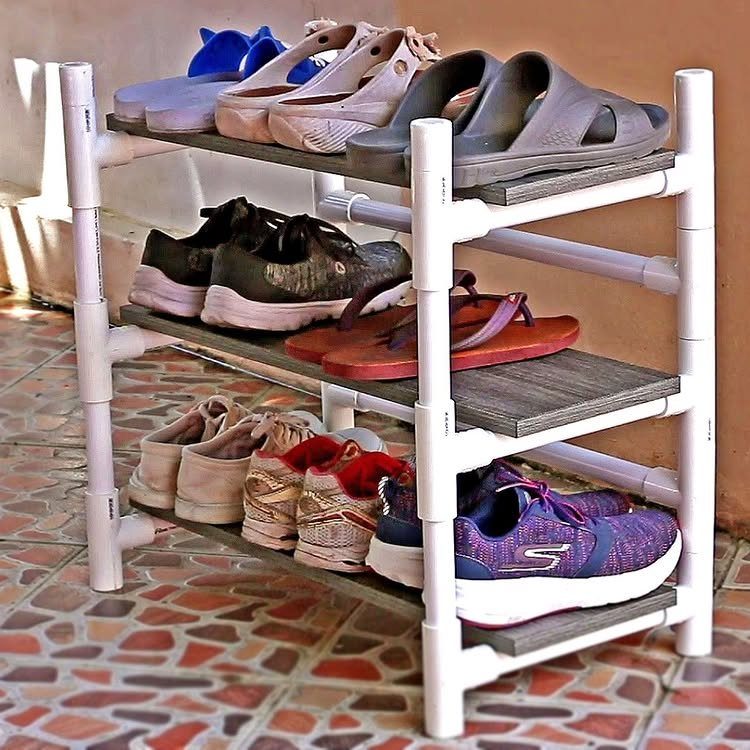
A PVC pipe shoe rack is exactly what the name says: lengths of pipe joined into tiers, usually with boards or more pipe as shelves.
White PVC and dark wood planks keep this rack light to move and easy to hose off if you track in mud.
Before you buy pipe, measure your wall or floor space and your tallest shoes.
Boots need deeper tiers than sneakers, and the pipe diameter has to clear the heel. I would skip the glue on at least one joint per tier so you can break it down for travel.
2. Hanging Shoe Nets
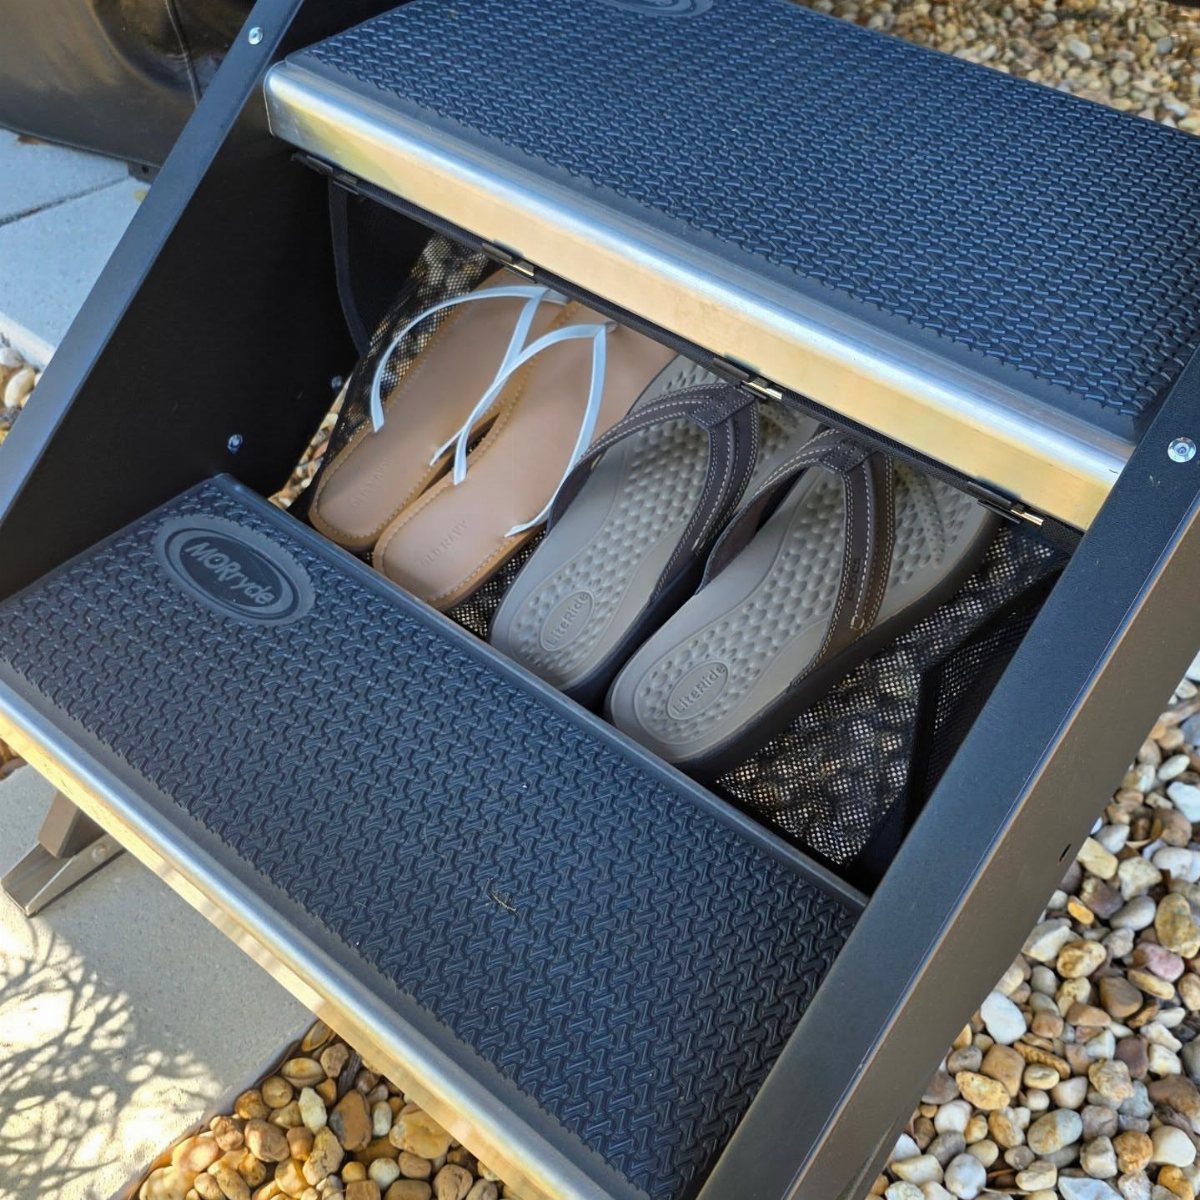
Hanging shoe nets work anywhere you have a frame to suspend them from, and the stair photo shows the most obvious spot in a camper. Black mesh hides dirt and lets wet shoes dry.
Check the weight of what you store. Flip-flops and sandals are fine; heavy boots will sag the net and stress whatever you hook it to.
I would look at the stair structure first, MORryde steps or not, and add a backing board if the mounting points feel thin. The net itself is cheap, but a failed mount drops your shoes in the dirt every time.
3. Narrow Shoe Rack
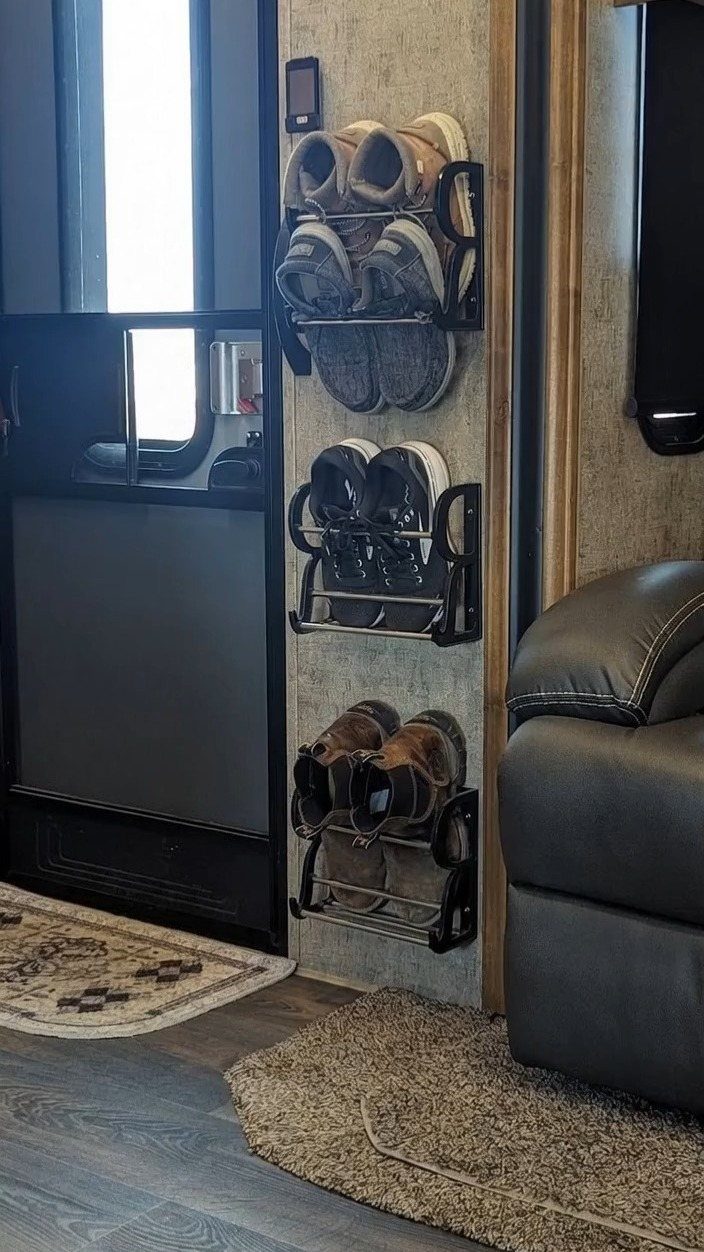
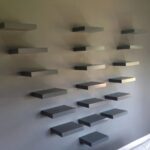
Wall-mounted narrow racks suit the dead space beside a camper door or bed where nothing else fits. 2 racks stacked hold several pairs without projecting far into the room.
The key number is depth.
These work for low-profile shoes; running shoes may hang over, and boots need a different solution. Check your wall material before you drill.
I would use toggle anchors in thin RV paneling rather than trusting screws in luan that barely holds. A rack over carpet helps if shoes drop; in a hard-floor rig, I might add a small mat below.
4. Under-Bed Storage Bins
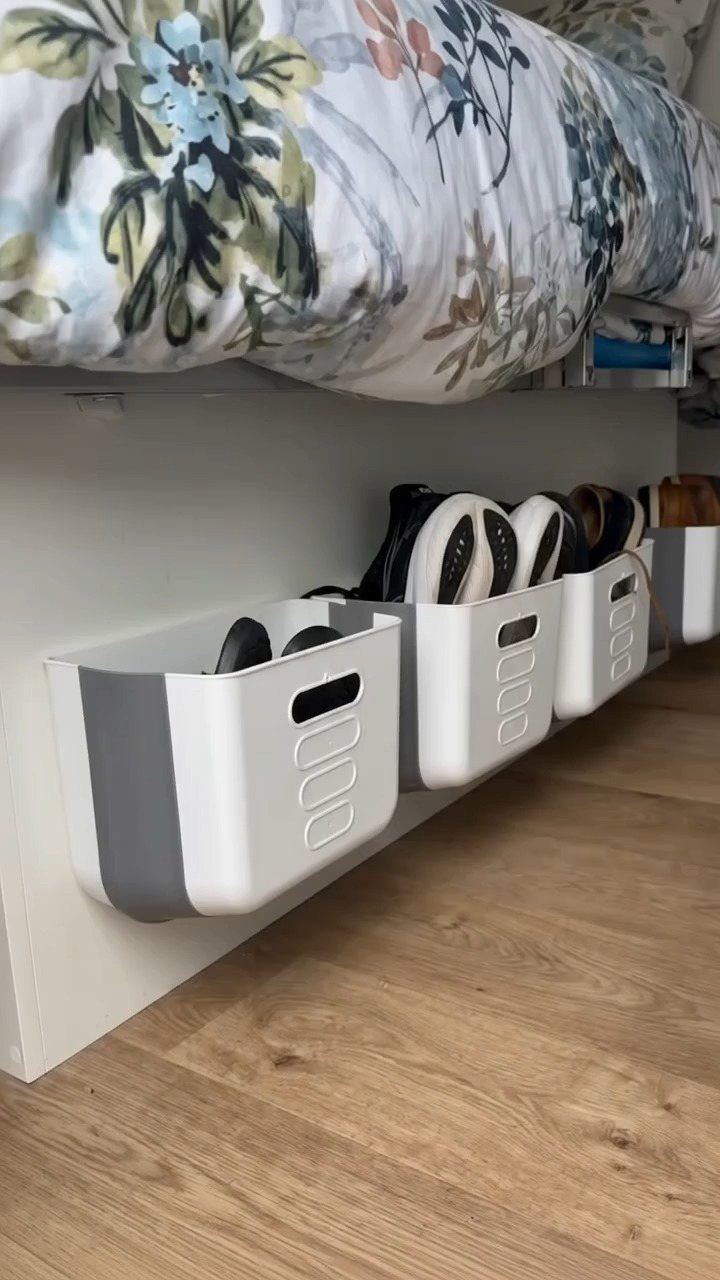
Under-bed bins keep shoes off the floor and out of sight, which matters in a camper where every visible item adds visual clutter.
White and grey plastic bins sit on a shelf or frame mounted below the bed base, not the floor itself.
Measure your bed frame height and your shoe height before you buy bins. A shallow bin is useless for boots, and a tall one may not slide under.
I would check whether the bed platform has existing framing to screw into; adding a shelf from scratch takes more time and lumber than the bins cost.
Several small bins rather than one long one let you pull out just what you need without unloading everything.
Avoiding Shoe Storage Mistakes
Wet shoes in an enclosed bin will ruin more than the shoes.
Mold spreads fast in the tight air of a camper, and once it gets into fabric organizers the smell stays. I would rather leave shoes on the step for an hour than lock moisture inside a drawer.
Weight distribution matters more in an RV than in a house.
Overhead nets are fine for flip-flops and light sneakers, but boots belong low. Heavy items up high shift the center of gravity and cost you in handling, fuel, and tire wear.
Any rack or net near a walkway needs a hard mount that will not swing.
Before I drill anything, I check the swing path, and I never block an emergency exit with storage. The test is simple: if you would trip over it at 2 AM, move it.
Maximizing Space in RVs
The floor is the worst place for shoes in a small RV. A row by the door turns into a pile, and that pile turns into a trip hazard.
I look for dead space that is already there: the back of a door, the gap beside a bed frame, the air above a step.
Vertical beats horizontal every time in a camper.
A narrow wall-mounted rack takes shoes off the floor without stealing walkway width. Under-bed bins use volume that is otherwise lost to dust.
The best solutions do one job well rather than several jobs poorly.
A bench with shoe storage underneath sounds efficient, but in practice the lift mechanism fights you and the compartment ends up half-used. I would rather have a simple rack and a separate place to sit.
Choosing the Right Materials
Every pound of storage hardware is a pound you are not using for something else.
PVC pipe and black mesh are light; solid wood and steel are not. I would pick the material that holds up to travel without adding dead weight.
Durability in an RV means surviving vibration, humidity swings, and the occasional hard stop.
Plastic bins crack at the corners after enough miles. Wall thickness matters before I buy, and I skip the brittle stuff that shatters in cold weather.
Ventilation matters for the material too.
Enclosed fabric holds moisture and rots; mesh or open pipe lets air through. If I had to store damp shoes on the move, I would want them in something that breathes, not in a sealed box.