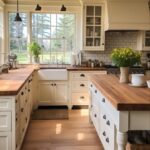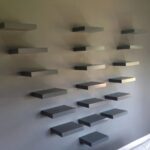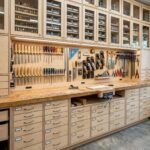
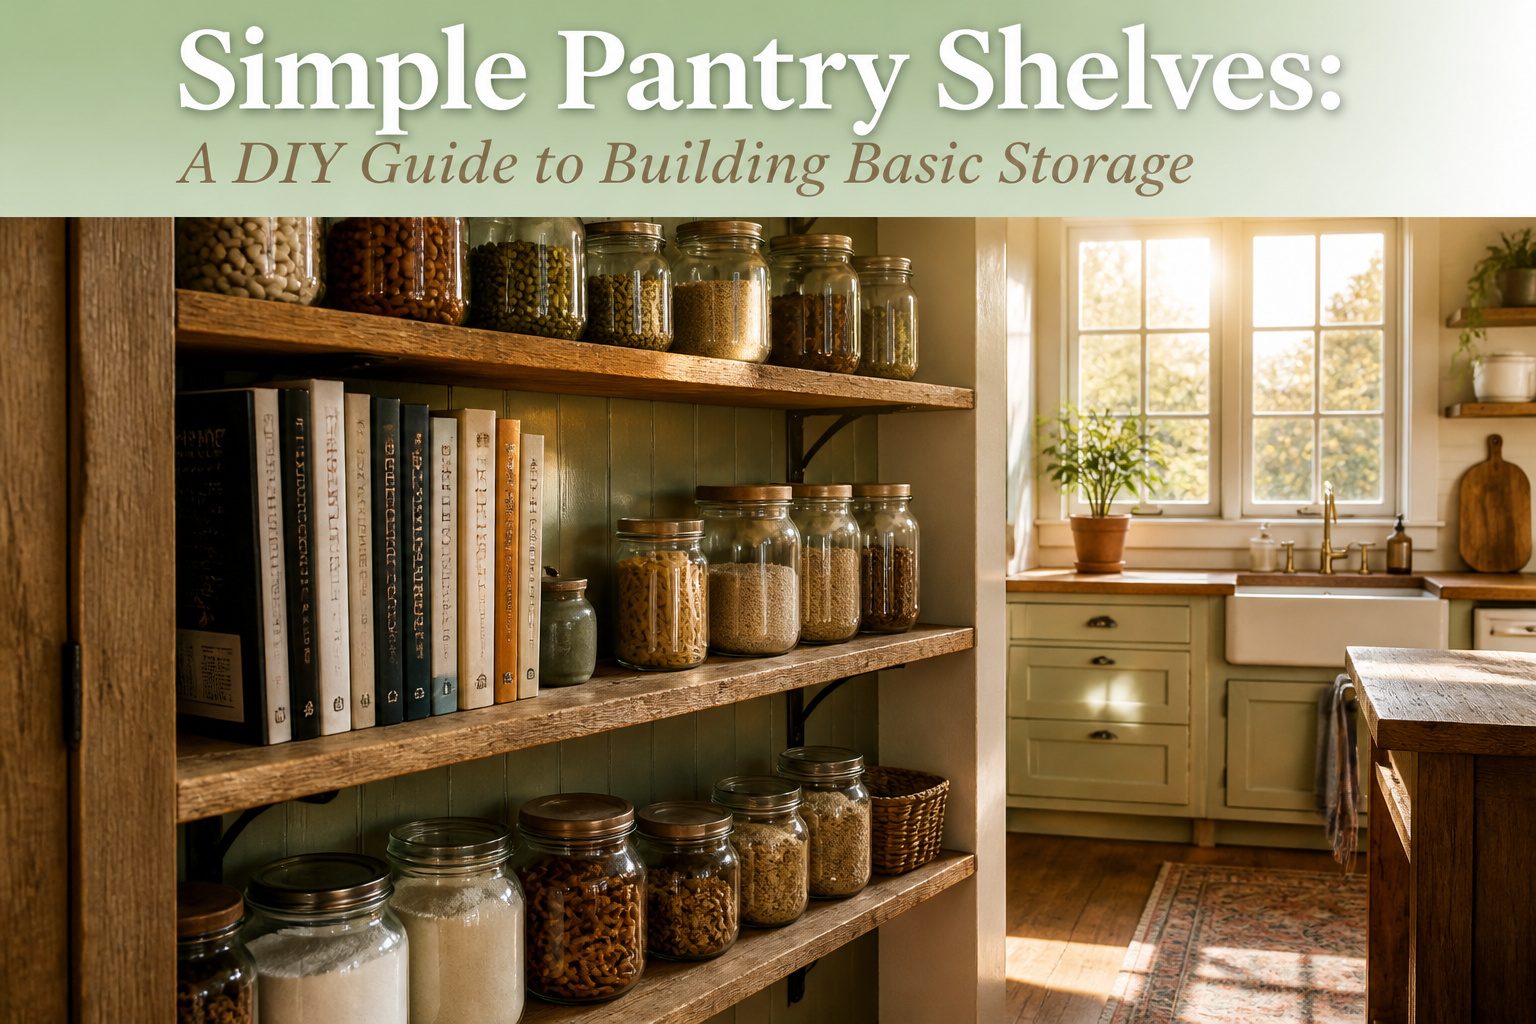
Simple pantry shelves are fixed storage boards built from lumber and basic brackets, not a kit or wire system.
They work only if you build around what you actually store, because a shelf tall enough for cookbooks wastes the space above cans you cannot get back.
I start every project by standing every item on the floor and grouping by height before marking a single wall line.
Remove Old Shelving
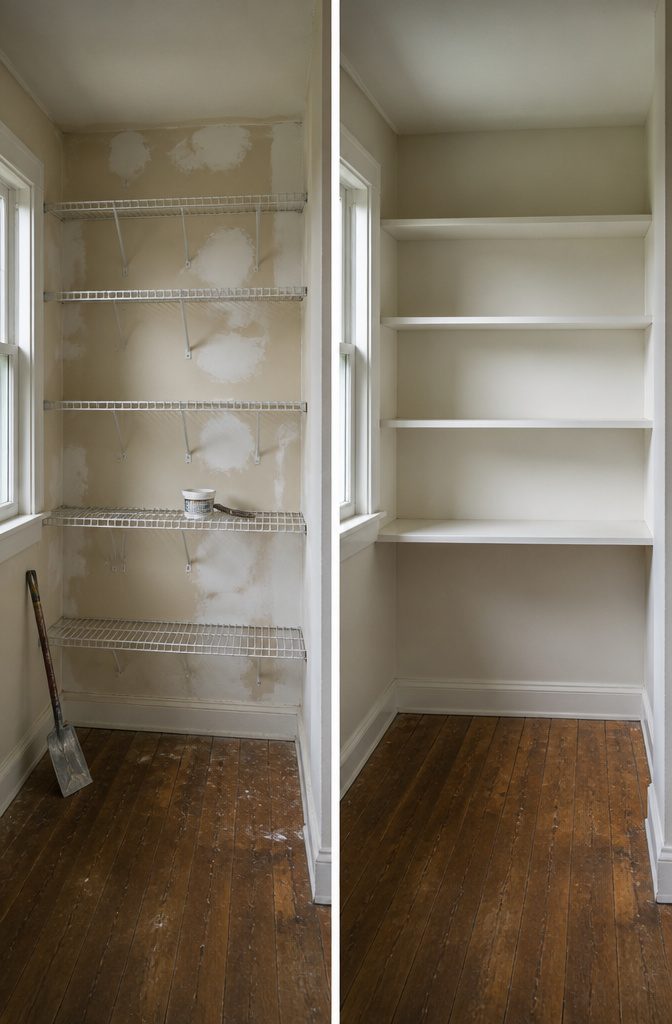
Wire shelves in a pantry look flimsy the day they go in and worse five years later, so removing them is usually where I start.
The brackets are anchored with plastic wall anchors that tear the drywall when they come out, leaving a row of small holes and often a bigger gouge where the bracket twisted loose.
I patch these with lightweight spackle rather than joint compound; it dries in an hour, sands flat with a single pass, and takes paint the same afternoon.
Fill every hole, even the ones that look too small to matter, because the new shelf cleat needs a flat surface to seat against.
If the old shelves ran the full width and left a line of discoloration at the wall, a quick coat of primer before you start building keeps the shadow from showing through later.
Measure and Mark
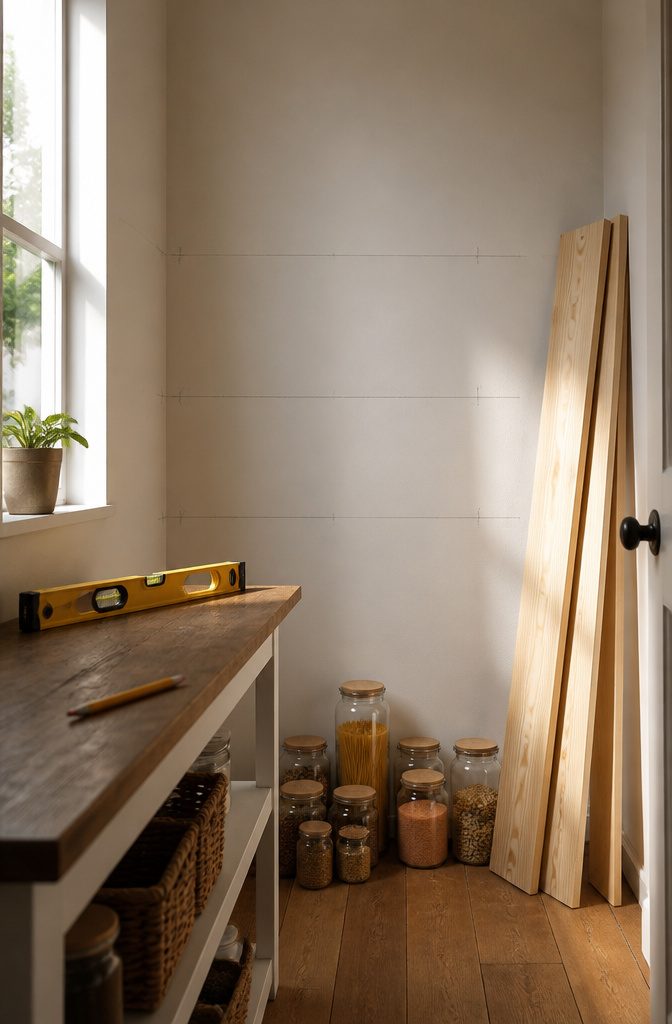
Shelf placement in a pantry is where most DIY builds go wrong, because the wall tells you where the studs are, not where your tallest cereal box lives.
I start by standing everything on the floor that I intend to store, grouping it by height: a 2×10 shelf for cookbooks needs more vertical breathing room than a 2×6 for cans, and mixing those up wastes cubic inches you cannot get back.
Once I know what lives where, I hold a level against the wall and mark bracket locations in pencil, working from a single horizontal reference line so the whole stack stays true even if the floor is not.
Measure twice, cut once is not a slogan; it is the difference between a Saturday project and a Sunday trip back to the lumber yard.
I mark every cut length on the board itself, then measure again from the opposite end before the saw starts.
A 1×4 peg rail cut short by half an inch will not hide between brackets the way a shelf might, and that gap is the first thing your eye catches every time you reach for a mug.
Cut Lumber to Size
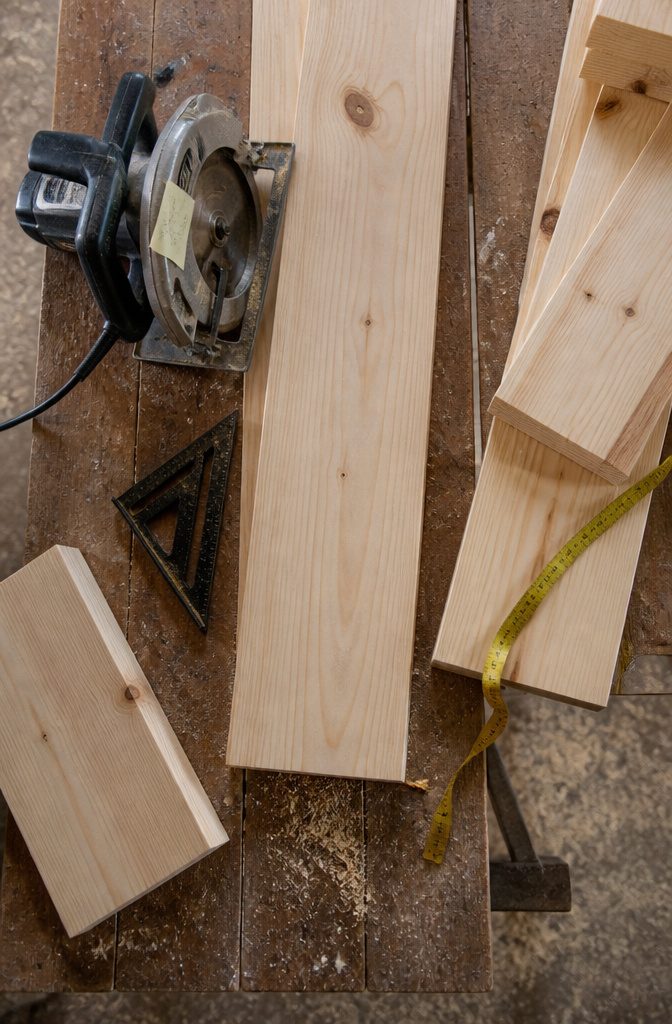
1×12 pine is what I would grab first for the shelf boards themselves. It gives you a full 11¼ inches of depth after milling, enough for a cereal box or a row of mason jars without wasted space.
Pine is soft, so it dings if you drop a can on the edge, but for a pantry behind a door that tradeoff is worth the price and the forgiving cuts.
For the supports, 2×6 lumber is the practical choice. That 1½-by-5½-inch profile matches stud depth if you are building between studs, so everything stays flush and you are not fighting the wall plane.
Cut it to the measured width between studs, then knock an eighth inch off to give yourself wiggle room. Walls are rarely plumb, and a too-tight fit turns into an afternoon of cursing.
MDF has its place if you want a dead-smooth painted finish with no grain telegraphing through, but I would skip it anywhere moisture might reach.
A pantry shares a wall with a kitchen, and a slow leak from the ice maker line has ruined more MDF shelves than I can count.
It also weighs more than it looks, so your supports need to be stouter than the same span in solid wood.
A circular saw and a sharp blade get this done. Support the board so it does not pinch, mark your waste side, and remember the kerf eats about an eighth inch.
Cut slowly, check your first piece against the actual opening, and batch out the rest only once you know the number is right.
Install Wall Supports
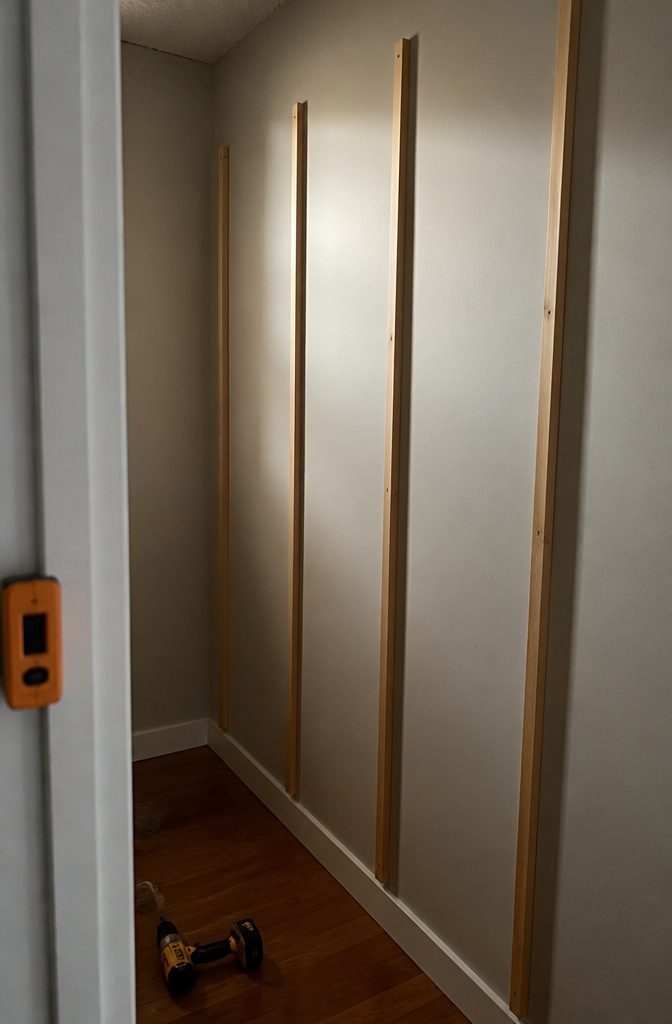
Vertical supports turn a stack of boards into shelves that stay level when you load them. I use 1×2 or 2×2 lumber for this, cut to run the full height of the wall section I’m filling.
The 1×2 is lighter and cheaper; the 2×2 gives you more meat for the screw and feels sturdier if your pantry runs deep.
Either way, locating wall studs is the step that decides whether the whole job holds, so I spend real time with a stud finder and mark every location in pencil before I lift a single board to the wall.
Each support needs to hit a stud in at least two places. I drive 2½-inch screws through the support into the stud, checking for level as I go.
Drywall anchors are a temptation when a stud doesn’t land where you want, but I skip them here. Pantry shelves carry real weight, and a toggle bolt in drywall will eventually sag or pull.
If your stud spacing doesn’t match your shelf layout, you adjust the shelf spacing or add a horizontal back support that bridges studs, not the other way around.
One detail I would do differently next time: cut the supports to fit wall-to-wall rather than leaving them short. The gap reads as unfinished, especially once paint goes on.
Speaking of paint, I prime and paint these supports before the shelves go up. Tight corners behind installed shelves are miserable to cut in with a brush.
Attach Shelves
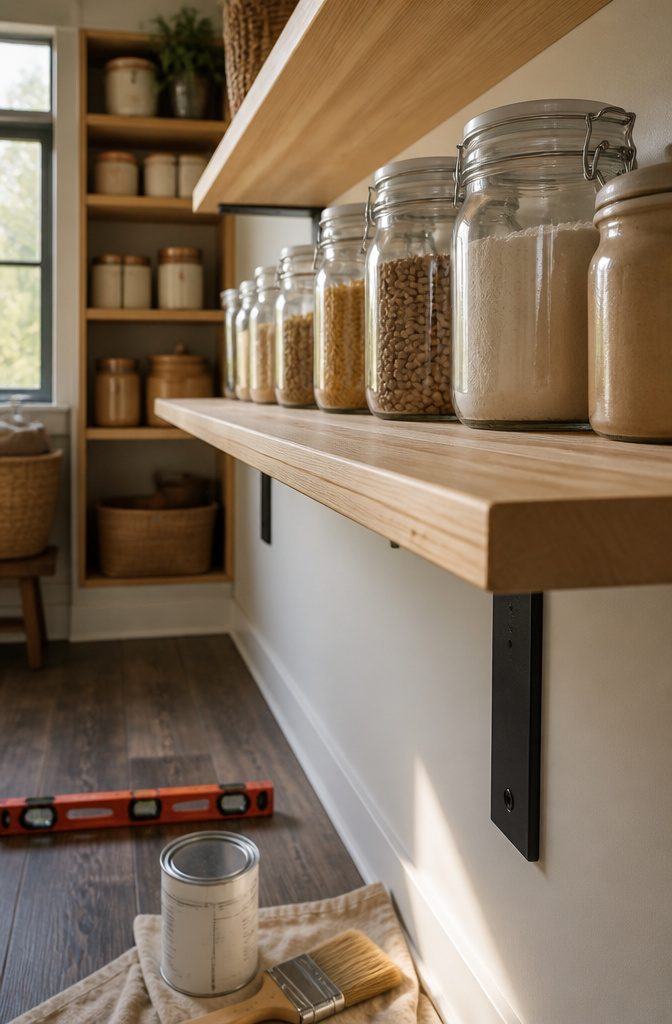
L-brackets are the support I would pick for simple pantry shelves that need to hold real weight. They mount flush to the wall and the shelf underside, giving you two points of contact without the visual bulk of a corbel.
For a standard 12-inch shelf depth, I like a bracket with at least a 6-inch arm; anything shorter and you are asking the front edge to carry too much load.
Corbels work if you want the shelf to read as furniture, but they eat headroom and complicate spacing. In a pantry where every vertical inch counts, that tradeoff rarely pays off.
The source material notes that some builders use wood corbels for deeper cookbook shelves, which makes sense when the depth jumps to a full 10-inch board and the look matters more than efficiency.
Vertical supports, whether a full back cleat or floor-mounted posts, are what separate shelves that sag from shelves that do not.
One builder’s comment stuck with me: a cabinet installer stood on a shelf braced this way to prove it held 100 lbs. I would not test it that way myself, but the point holds.
A back brace or corner brace on the underside of long spans keeps the board from bowing under canned goods. For shelves over about 30 inches, I would add that extra brace even if the wall brackets feel solid.
The screws matter too: real steel, not aluminum, because two screws in a post bracket carry more load than you would expect, but only if the metal is there.
Finish and Paint
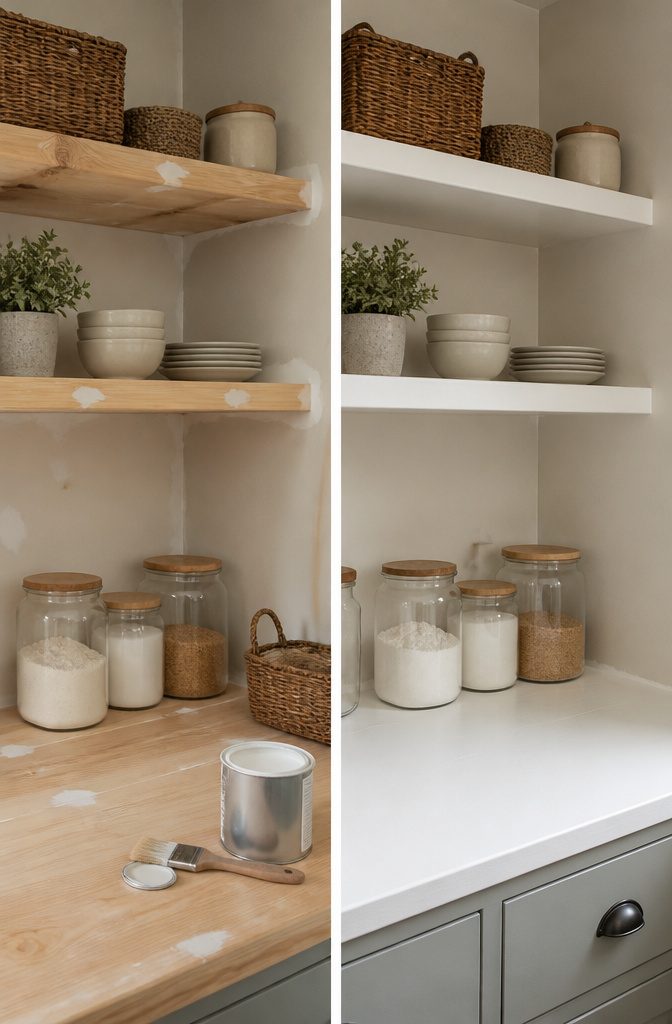
Filling the screw holes takes two passes with wood filler, letting each dry before the next.
The first round shrinks into a dimple; the second brings it flush with the surface. Sand with 220-grit until your hand cannot feel where the hole was, because any bump telegraphs straight through paint.
Caulk every seam where the shelf meets the wall or the bracket meets the shelf.
White paintable caulk is the right choice here, not silicone. Run a thin bead, press it with a wet finger, and wipe the excess with a damp rag before it skins.
Satin is the finish I would pick for pantry shelves: it cleans up better than eggshell but does not glare like semi-gloss under LED strips.
Two coats, sanding lightly between them, covers pine grain well enough without the expense of primer on every surface.
Stain is faster and shows the wood, though it demands more sanding up front and will never hide a seam the way paint can.
If you stain, skip the caulked joints entirely; they look patched. Paint forgives more, which matters when your cuts were made on a Saturday morning with a borrowed saw.
Wood Types and Shelf Depth
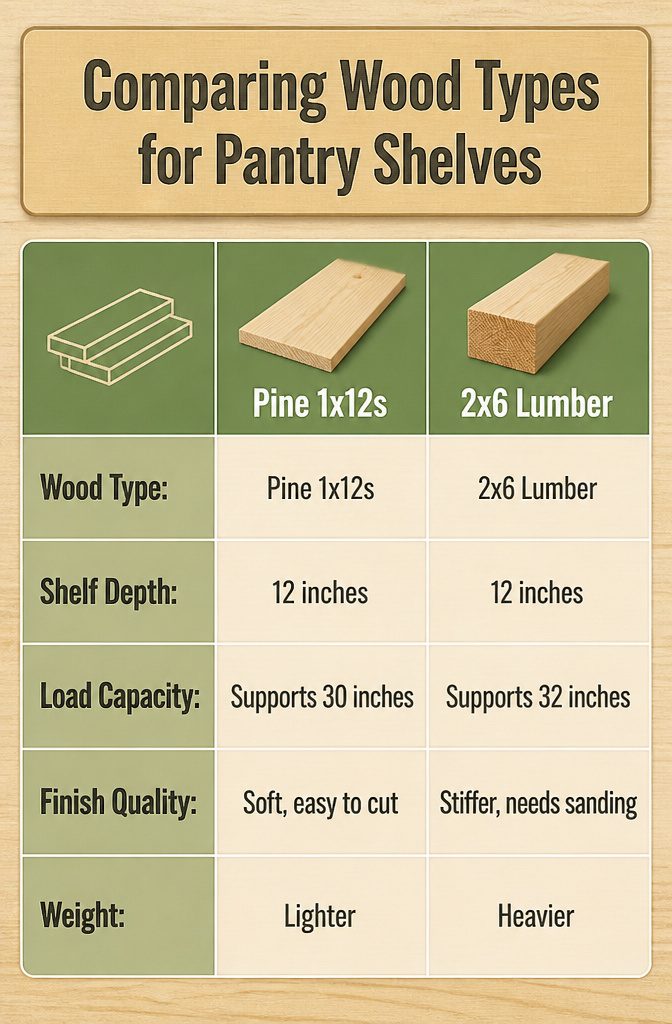
For pantry shelves, 12 inches is the depth that works.
Anything deeper and cans and jars migrate to the back where you forget them; anything shallower and cereal boxes overhang. I stick to that number unless someone stores only small items.
Pine 1x12s are what I would reach for first. The actual measurement runs closer to 3/4 inch by 11 1/4 inches, so the finished shelf sits almost flush with a standard face frame.
It is soft enough to cut without a table saw, and it holds a surprising load across a 30-inch span.
The downside is denting. A heavy cast-iron skillet dropped edge-first will leave a mark.
2×6 lumber, ripped or used as-is, is stiffer but bulkier. The extra mass matters if you are spanning more than 32 inches or stacking heavy appliances.
I have used it for a client who kept a stand mixer and two pressure cookers on every shelf. The visual weight is higher, though, and the front edge needs sanding or a facing strip to look finished.
MDF is flat, cheap, and takes paint beautifully. For a painted pantry in a dry house, it tempts.
I skip it. The first time a shelf sags under a gallon of olive oil or swells from a spilled leak, the savings evaporate.
Solid wood flexes and recovers; MDF creeps and crumbles. If the budget is tight, I would rather buy thinner pine and add a cleat underneath than trust MDF with pantry weight.
Tools You Actually Need
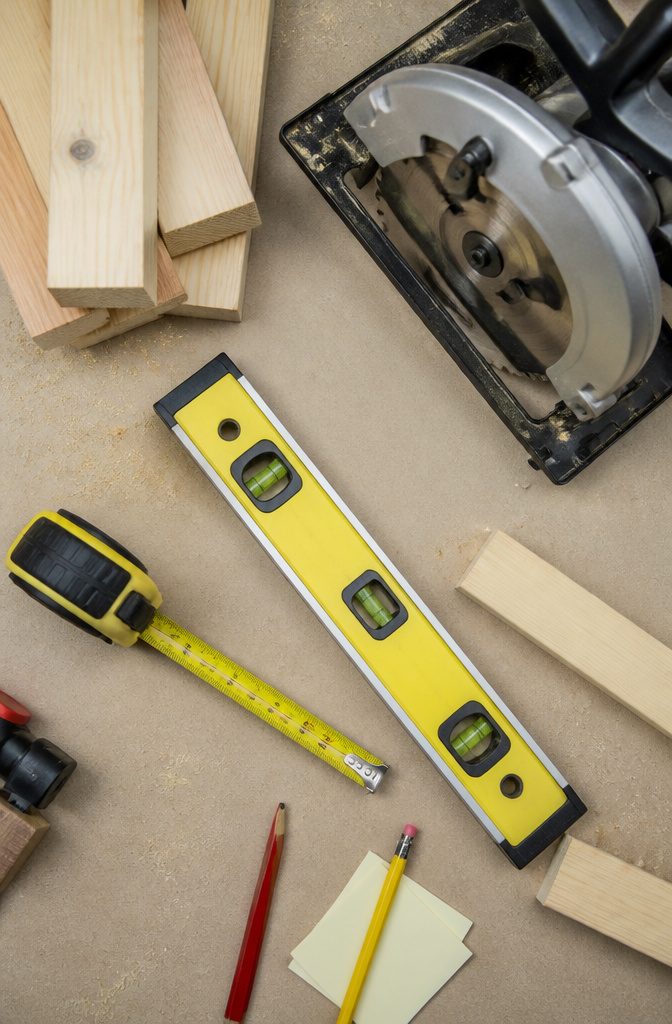
A measuring tape and a level are the two tools that will save you from the mistake everyone makes: shelves that look straight until you step back and see the slant.
I add a stud finder because drywall anchors are a last resort for pantry shelves that will hold weight.
For the cuts, a circular saw is faster, but a hand saw and patience will get the same result if that is what you own.
The drill matters more than the fastener choice.
I use screws, not nails, because shelves settle and shift over time, and screws hold that movement in check. Brackets are your call: metal L-brackets are plain and reliable, wood corbels if you want the shelf to read as furniture.
Paint the boards before you install them, whether you are staining or going with paint. The time saved not taping off walls is worth the extra care in laying out your sawhorses.
Spacing and Cost
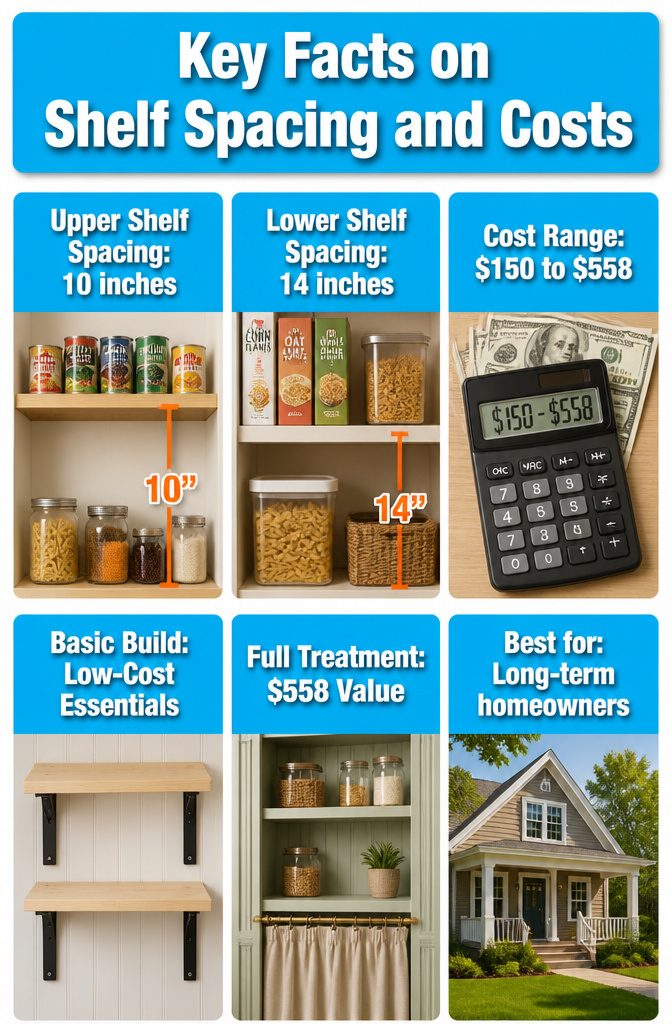
Shelf spacing is the decision that makes or breaks a pantry you actually use.
I space upper shelves 10 inches apart and lower shelves 14 inches apart, which leaves room for tall cereal boxes and bulk bins below while keeping everyday cans and jars within easy reach above.
Painter’s tape on the wall beats any sketch; mock up the rows, stand back, and imagine loading groceries before you drill a single hole.
Cost lands anywhere from $150 to $558 depending on how finished you want the result.
A basic build with 2×10 lumber and simple brackets sits at the low end. The $558 figure comes from a full treatment: beadboard backing, fluted casing, paint, hardware, and curtain details that turn storage into something you’d show off.
That investment only makes sense for a house you plan to keep. For a rental or a first project, skip the trim and put the savings toward better wall anchors or a second shelf run.
Lighting and Extras
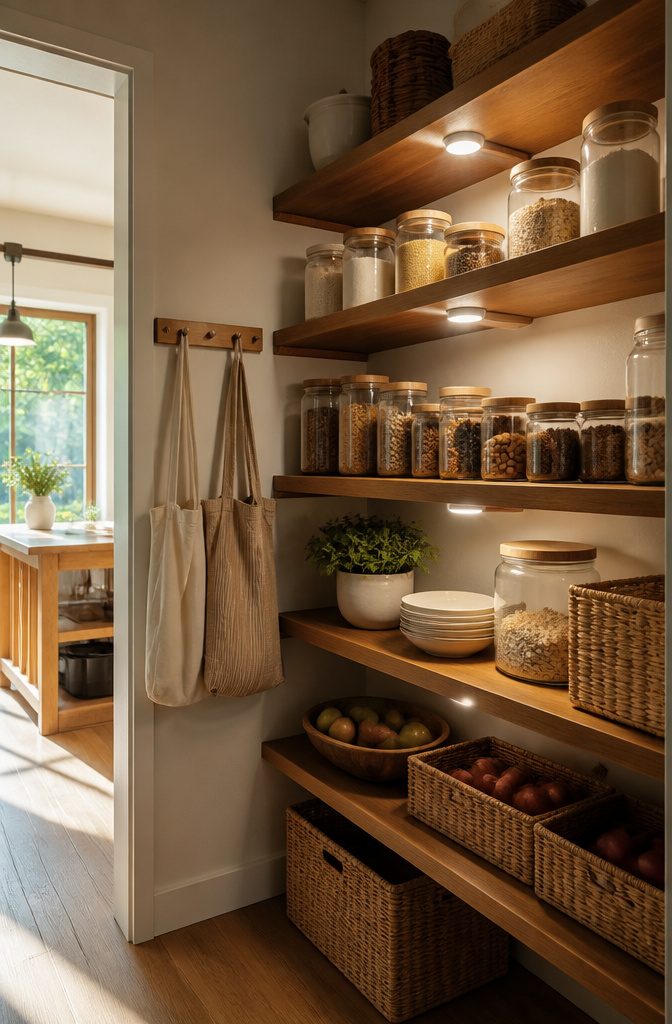
Battery-powered motion-sensor LED pucks are the single upgrade that turns a basic pantry build into something you actually use. I mount one over the door frame on the inside, and a second on the side wall about shoulder height.
The light hits the shelves full-on when the door opens, no switch to fumble for with an armful of groceries. Amazon sells them in single, double, and quad packs; for a pantry this size, two is the right number.
A peg rail between brackets at 36 inches above the counter gives you a spot for aprons, reusable bags, or a small basket of clips.
Space the pegs 5 to 8 inches apart depending on what you hang. It reads as storage, not decoration, which is the line I want in a working pantry.
A curtain over the doorway is the other move I consider, especially in an open kitchen where the pantry faces the room.
It hides the visual noise for almost no money and zero install time. I would skip it only if the pantry sits behind a proper door already.
Frequently Asked Questions
What is the best depth for pantry shelves?
12 inches is the depth that works for pantry shelves. Anything deeper and cans and jars migrate to the back where you forget them; anything shallower and cereal boxes overhang.
This gives you a full 11¼ inches of usable depth after milling, enough for a cereal box or a row of mason jars without wasted space.
What materials are best for pantry shelves?
1×12 pine is the first choice for shelf boards, giving enough depth for most items while staying easy to cut.
For supports, 2×6 lumber matches stud depth and stays flush with the wall plane. MDF takes paint beautifully but should be skipped anywhere moisture might reach, since a slow leak from a nearby kitchen line can ruin it.
How do I install pantry shelves?
Start by removing old shelving and patching holes so new supports seat flat.
Measure and mark bracket locations from a single horizontal reference line, cut lumber to size with a circular saw, install vertical 1×2 or 2×2 supports by driving 2½-inch screws into studs, attach shelves with L-brackets, then fill holes, caulk seams, and paint.
Prime and paint supports before the shelves go up to avoid cutting in tight corners later.